Install
Project Manager is a community plugin. Install it from inside Obsidian Community Plugin.
Install from community plugins
- Open Obsidian → Settings → Community plugins.
- If you haven’t already, turn off restricted mode.
- Click Browse and search Project Manager.
- Click Install, then Enable.
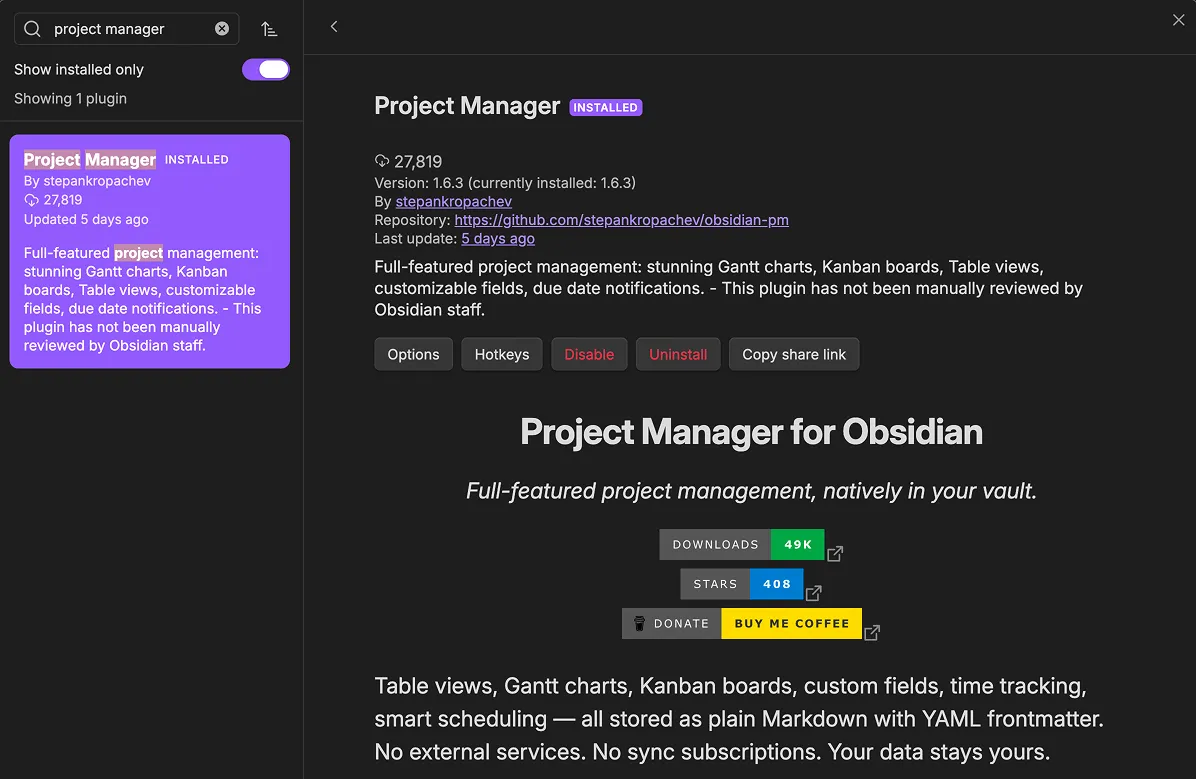
What changes after install
- A new ribbon icon appears on the left sidebar: a small gantt chart symbol labeled Project manager. Click it to open the project list.
- The command palette gains a handful of commands (search “Project Manager”):
- Open projects pane
- Create new project
- Create new task
- Create new subtask
- Import notes as tasks
- Open current file as project
- Undo last action
- Redo last action
- A new settings section appears under Settings → Project Manager (see Settings reference).
Where to go next
- Create your first project — open the project list and create something to work in.
- Vault layout — where files end up on disk.
- Importing existing notes — bring notes you already have into a project.
Tips
Project Manager doesn’t change any files outside the projects folder. Your existing vault stays exactly as it was.