Create your first project
A project is a container for tasks, custom fields, saved views, and the team members assigned to that work. Each project is a single markdown file in your vault.
Open the project list
Click the Project manager ribbon icon, or run Open projects pane from the command palette. The project list opens in a new tab.
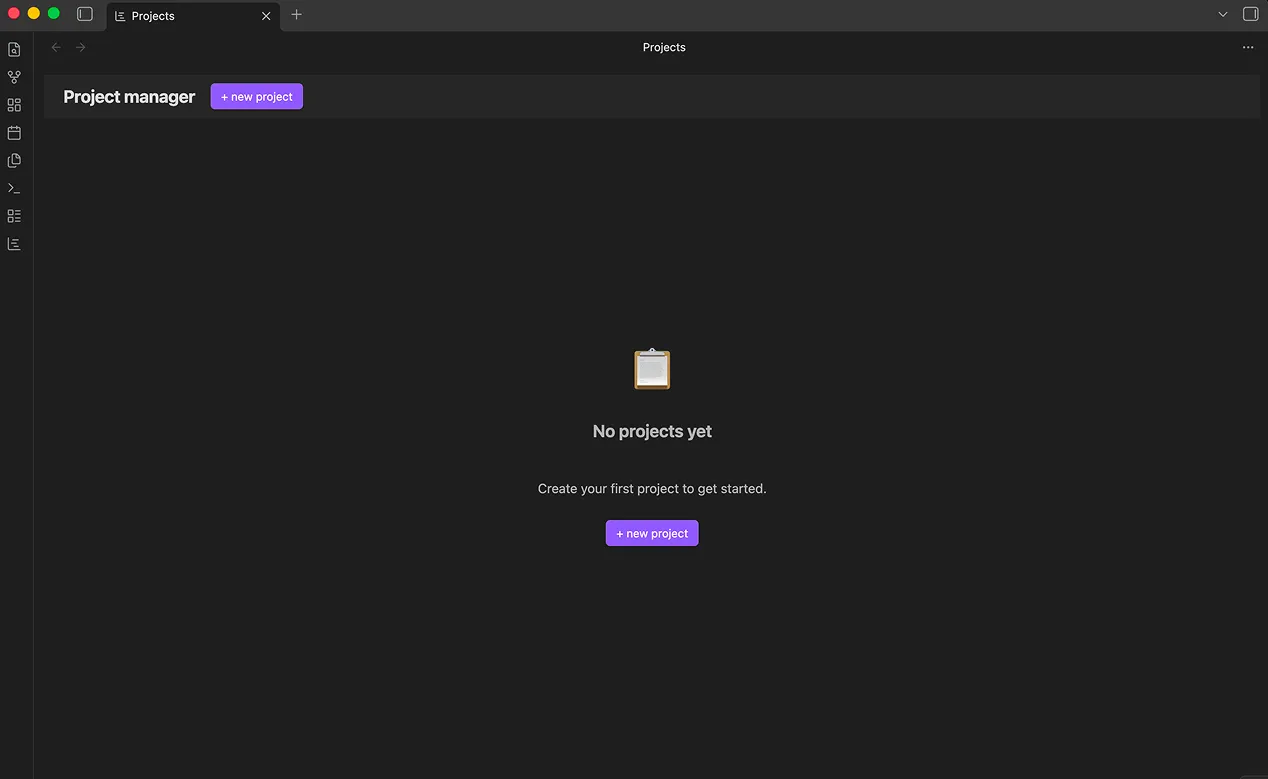
If you have no projects yet, the list is empty with a single + new project button.
Create a project
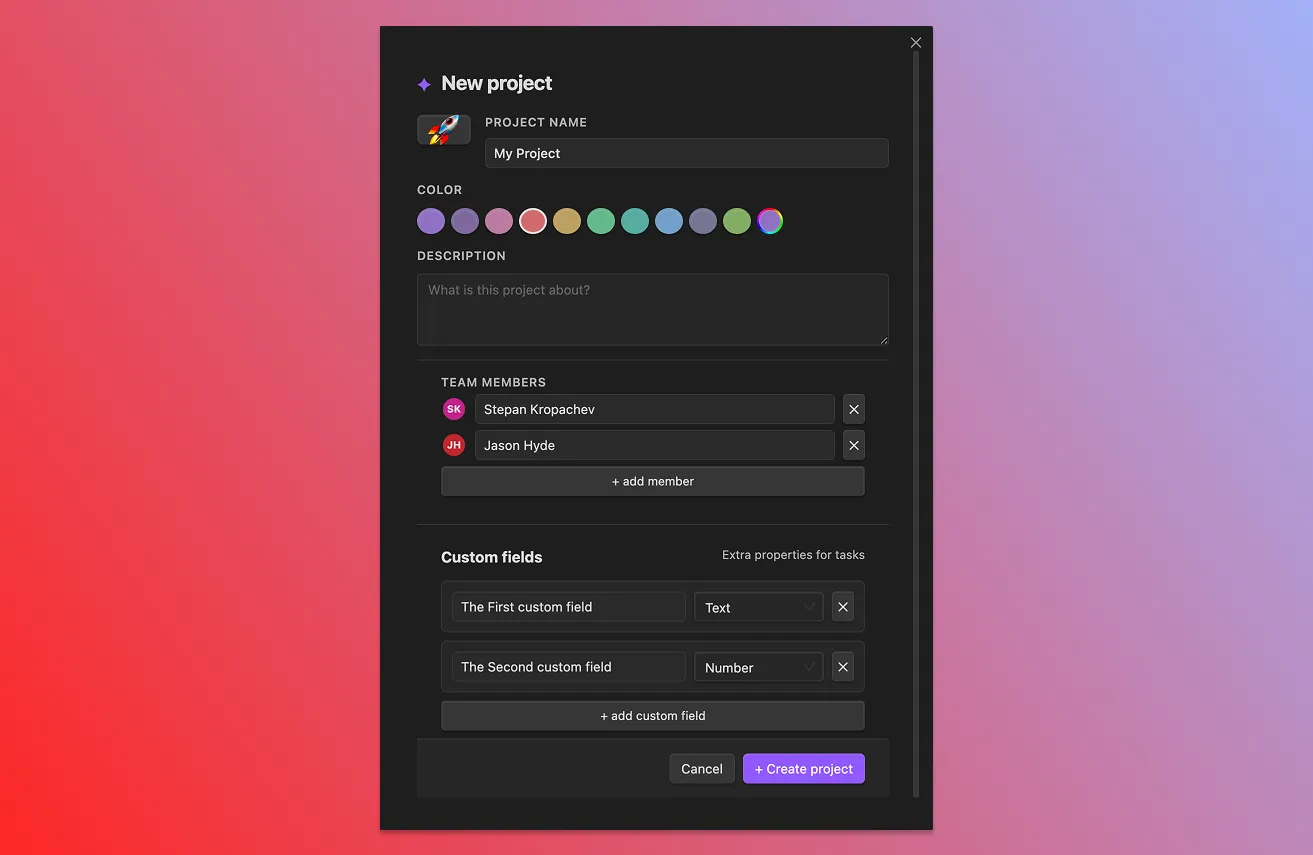
- Click + new project (or run Create new project from the command palette).
- In the modal, enter a title.
- Pick an icon (emoji) and a color. These show up in the project list and headers.
- Click Create.
The project opens in its default view (table, by default — see Settings reference to change this).
What was created on disk
A single markdown file: Projects/<Title>.md.
Inside the file:
- YAML frontmatter with
pm-project: trueand the project’s metadata. - A heading with the icon and title.
- A
## Taskssection that the plugin keeps in sync as you add tasks.
The Projects/ folder is auto-created if it doesn’t exist. You can change its location under Settings → Project Manager → Projects folder.
A second folder named <Title>_tasks/ is created the first time you add a task to this project (not before).
Where to go next
- Create your first task — add work to the project.
- Vault layout — understand where everything lives.
- Importing existing notes — turn notes you already have into tasks.
Tips
A project is just a markdown file. You can move it, rename it (rename the file and the matching
_tasks/folder), or version it with git. The plugin reads the file on next load.
Want to start from an existing note? See Importing existing notes — you can pull notes in as tasks with the import command, or convert a note into a project by adding the
pm-project: truemarker yourself.